Before we can get started in class, you will need to set up a few things on your computer. If something goes wrong during the semester, you may need to repeat some of these steps. If you have any trouble while installing please reach out on the class slack workspace.
The commands below assume you are using something like a Linux terminal (e.g. a Bash Shell). If you use MacOS, most of these will work as is or with very minor changes. For Windows Systems: we highly recommend using Ubuntu on Windows Subsytem for Linux 2: https://documentation.ubuntu.com/wsl/stable/howto/install-ubuntu-wsl2/, however, you may find other ways to do this if you wish.
Commands below that should be put in a terminal are preceded by $. Required variable components are in <> brackets and optional are in []. Example:
$ some_command <required_component_to_fill_in> [some_option]
Most assignments in this class can be completed on any system that can run Docker Desktop: https://docs.docker.com/desktop/. For the few assignments that cannot be run like this, you can use a lab computer in DAN-407, a loaner laptop, or a labmate’s computer. Many of the instructions below are highly system dependent, so you will be referred to the developers’ websites for installation instructions.
$ xhost +
We will use git to manage code in this class. This will be the way that you submit solutions to assignments and receive class code from the instructor. This step only needs to be performed ONCE for the semester. You will use the same git repo for all assignments and labs (except possibly the final project).
These instructions are designed for use on github.com. They may work using other git services, but for simplicity, only instructions for GitHub are provided. Please let the instructor know if you use a service besides GitHub.


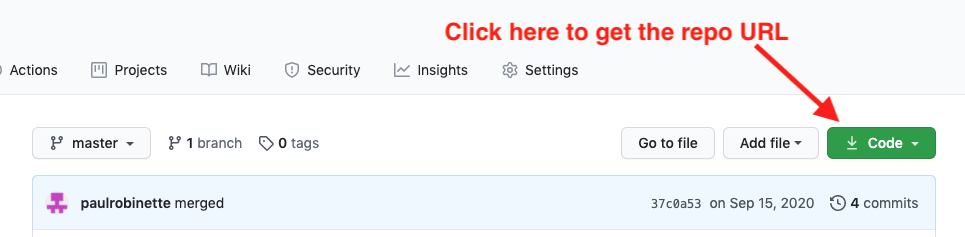
$ git clone <repo_url>
Note that this will clone your repo into your current folder as a new folder with whatever name you gave your repo on GitHub. You may need to clone your repo a few times in class. It is fairly easy to break your local copy, but it is even easier to download a fresh copy from GitHub and try again! Just run the clone command again.
$ git config --global user.name "<your-name>"
$ git config --global user.email "<your-email>"
You are now ready to use ROS2! First, let’s talk about the difference between your regular terminal and your docker container. Your regular terminal is whatever comes with your system. Take a look at the command prompt (the text shown when you start a new terminal). Yours is likely different, but mine looks like this:
Pauls-MBP-2024:student-jazzy-base paulrobi$
This shows my laptop’s name (Pauls-MBP-2024), my current working directory (student-jazzy-base), and my username (paulrobi) followed by something that shows commands will follow: $
$ cd <your-git-repo-directory>
 1 warning found (use docker --debug to expand):

 - InvalidBaseImagePlatform: Base image paulrobinette/eece5560-jazzy-class-image:v1 was pulled with platform "linux/amd64", expected "linux/arm64" for current build (line 1)
paulrobi@7c7136f7bf6e:/$
This time, it starts with my username, then gives some sort of system name (this is internal to Docker and you don’t need to worry about it), then the current directory (/ or root) and finally the familiar $ indicating you may type a command.
$ source /opt/ros/jazzy/setup.bash
$ ros2 run turtlesim turtlesim_node
$ ./attach.sh
$ source /opt/ros/jazzy/setup.bash
$ ros2 run turtlesim turtle_teleop_key
$ ros2 topic list
$ ros2 topic echo <topic_name>
$ ros2 node info /turtlesim
$ exit
in each terminal connected to your container and your original container terminal. You may now close the terminal windows if you wish.
To complete this assignment, submit the Lab1.1 survey on Qualtrics (link on Blackboard) with the following information: